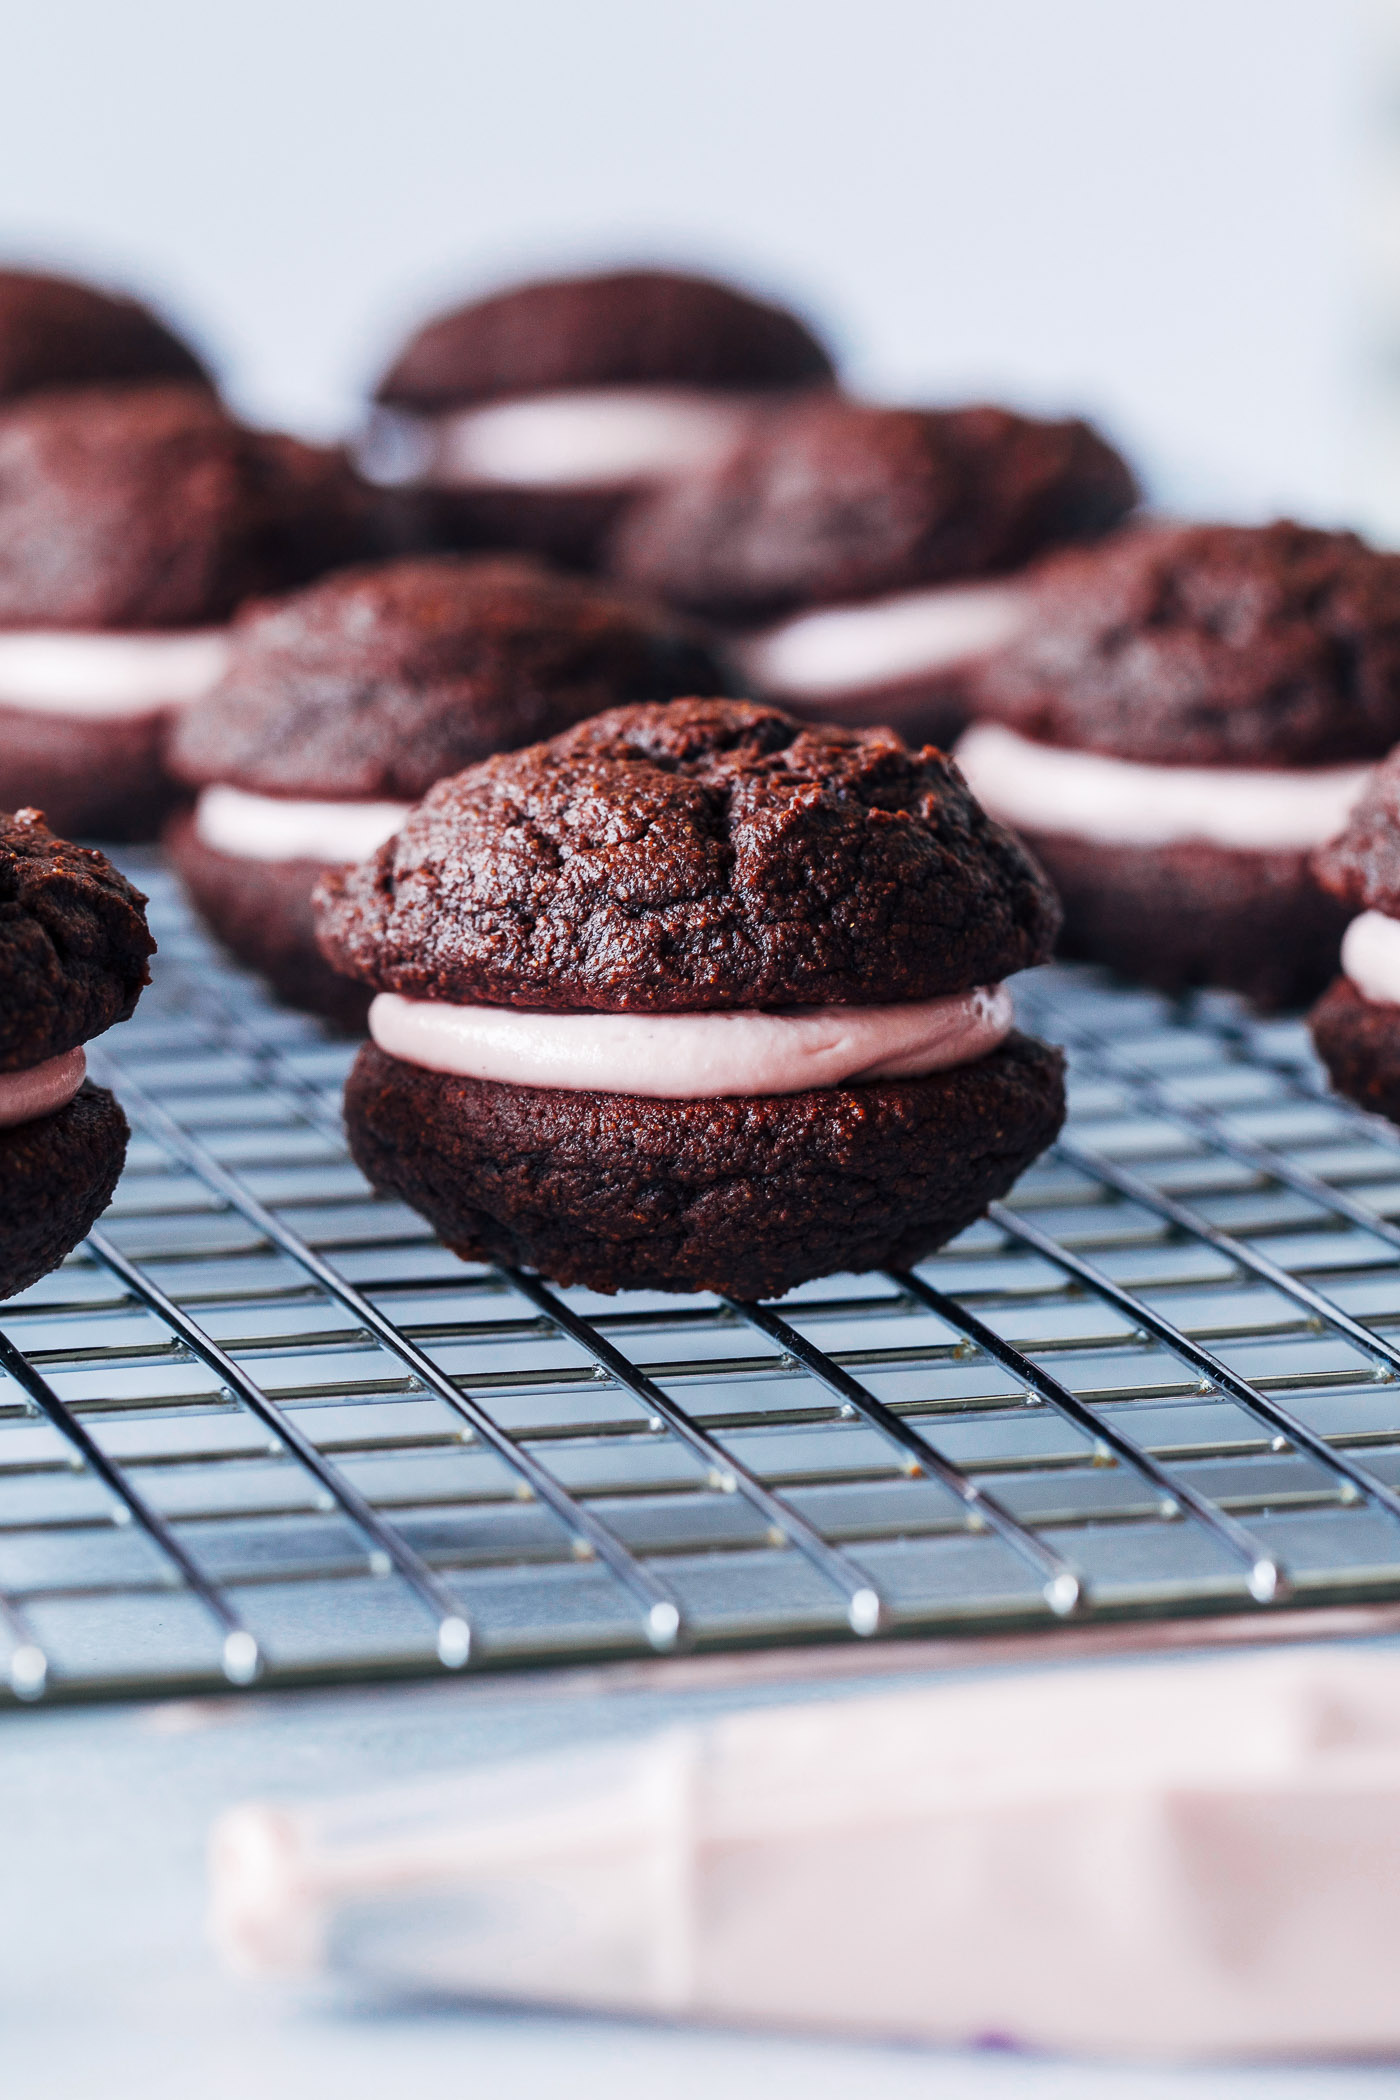
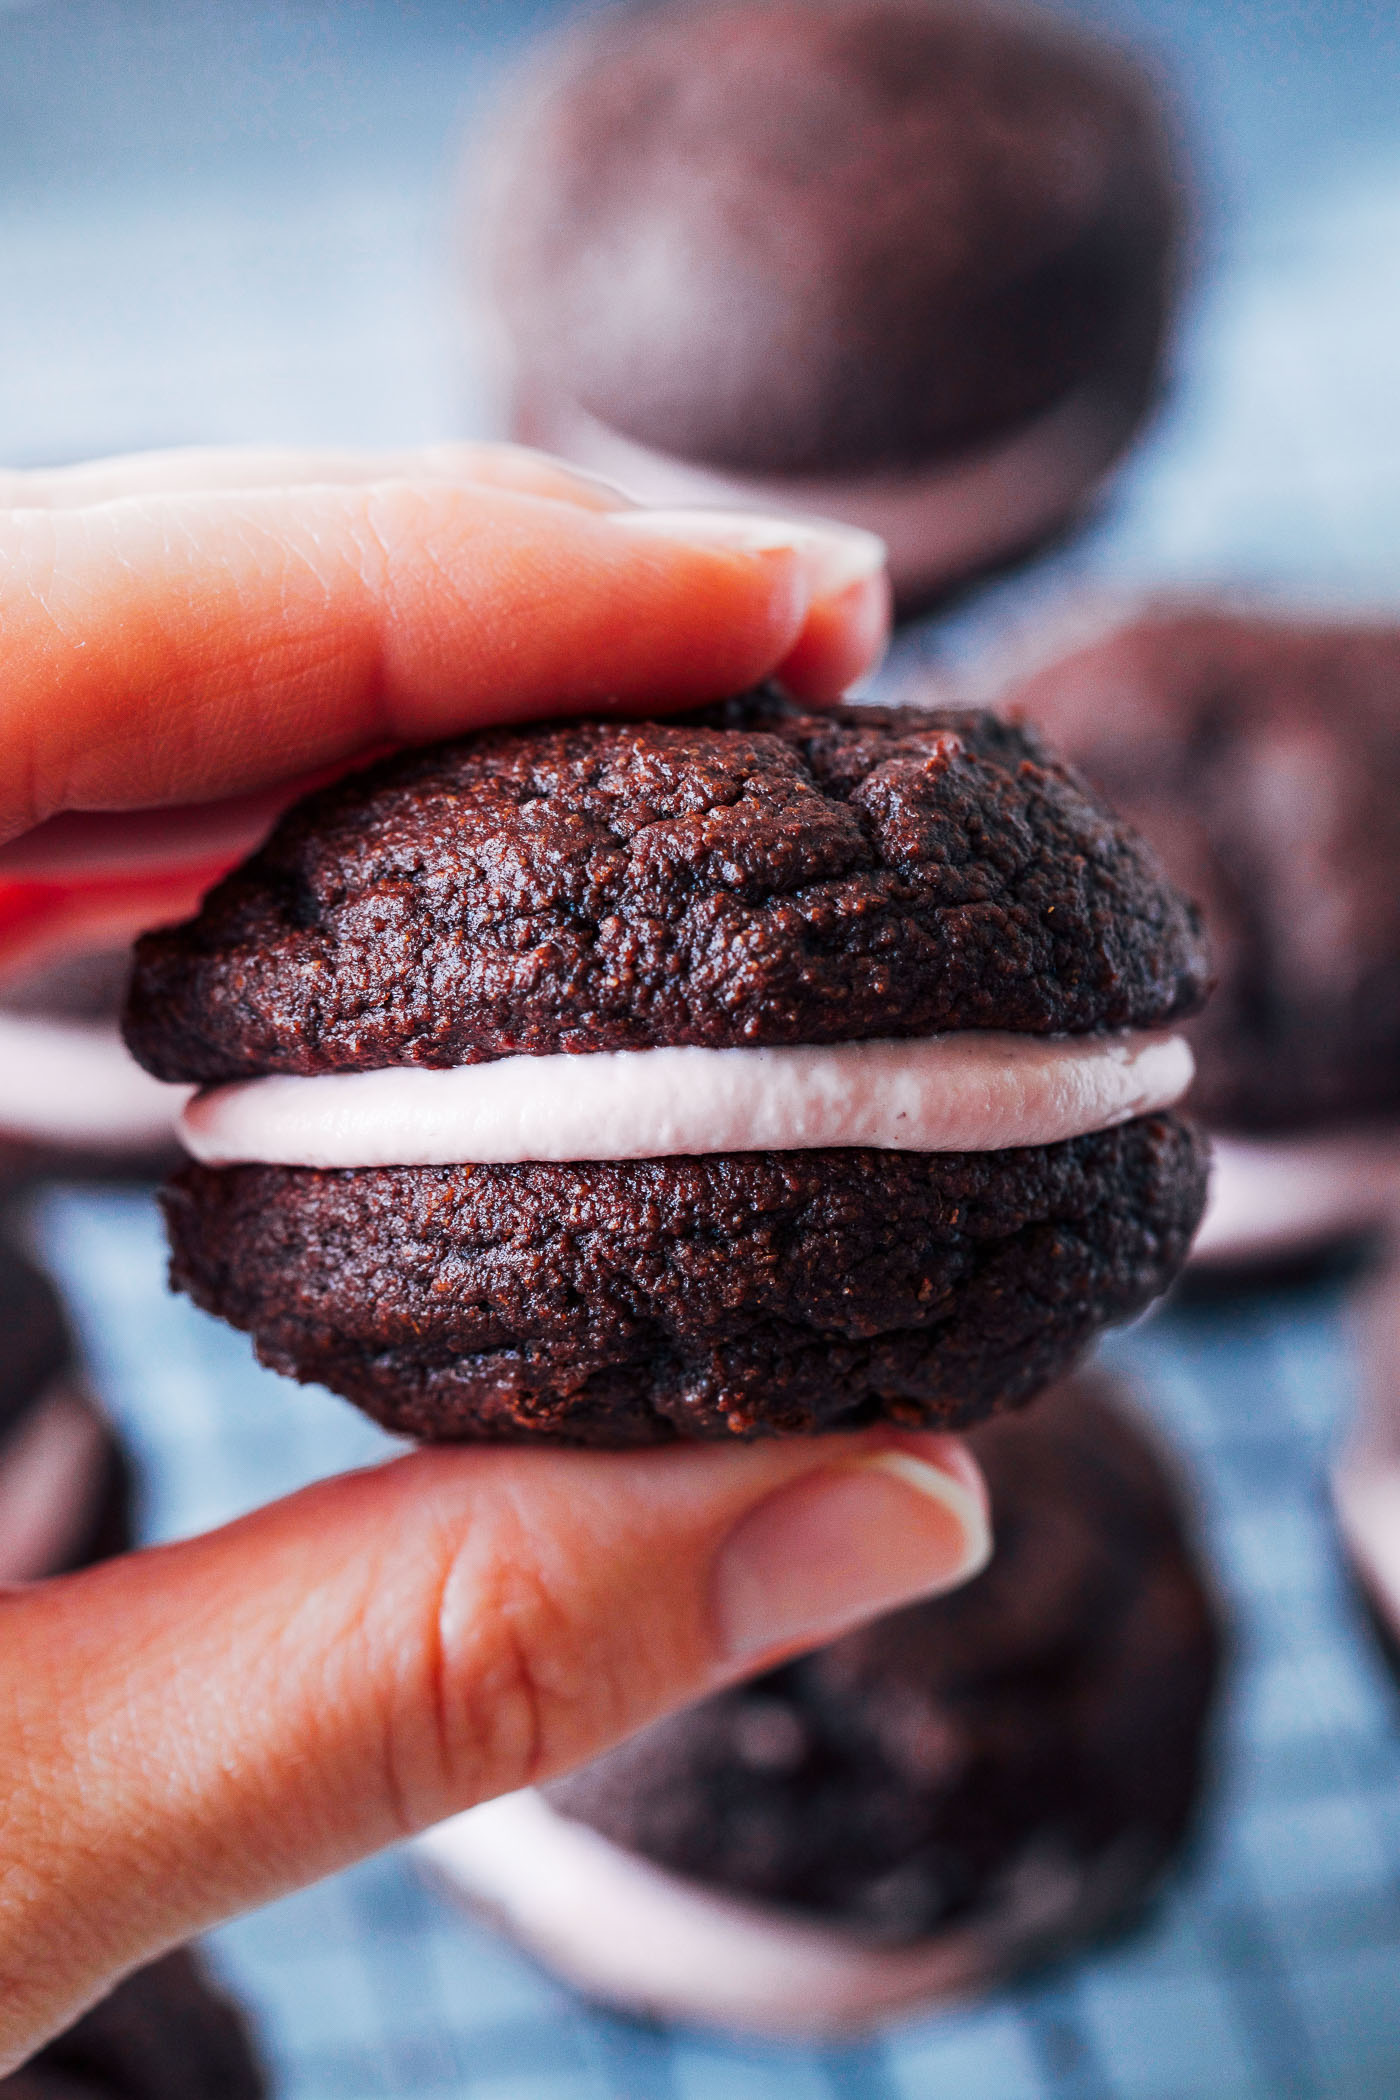
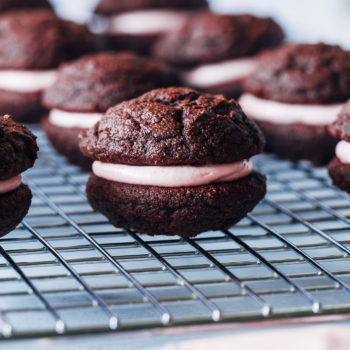
Vegan Chocolate Whoopie Pies with Pink Vanilla Cashew Cream
Vegan Chocolate Whoopie Pies- stuffed with a luxurious cashew vanilla cream that’s naturally pink! (gluten-free + refined sugar-free)
Love is in the air. Can you feel it?
If not, you will after you take a bite of one of these Vegan Chocolate Whoopie Pies. The rich chocolate flavor and soft cake-like texture paired with the smooth vanilla cashew cream is sure to bring out some of those feel-good endorphins.
In full disclosure, I have not been feeling the love for these whoopie pies. After making them about ten times over the past month, I’m not sure I can eat another whoopie pie ever again.
We both know that’s a big fat lie.
Vegan and gluten-free baking (that’s also starch-free and gum-free) remains to be the biggest challenge for me with this blog. I feel like I’ve mastered a few cookie recipes, but cakes and muffins are another ballgame.
Save this Recipe
Even though I feel like I climbed a mountain of a million little chocolatey cakes for this recipe, the end result was worth it. In honor of the upcoming Valentine’s Day, they’re filled with a silky cashew cream that’s dyed pink with just a touch of shredded beet. Cause you know I like to keep things natural.
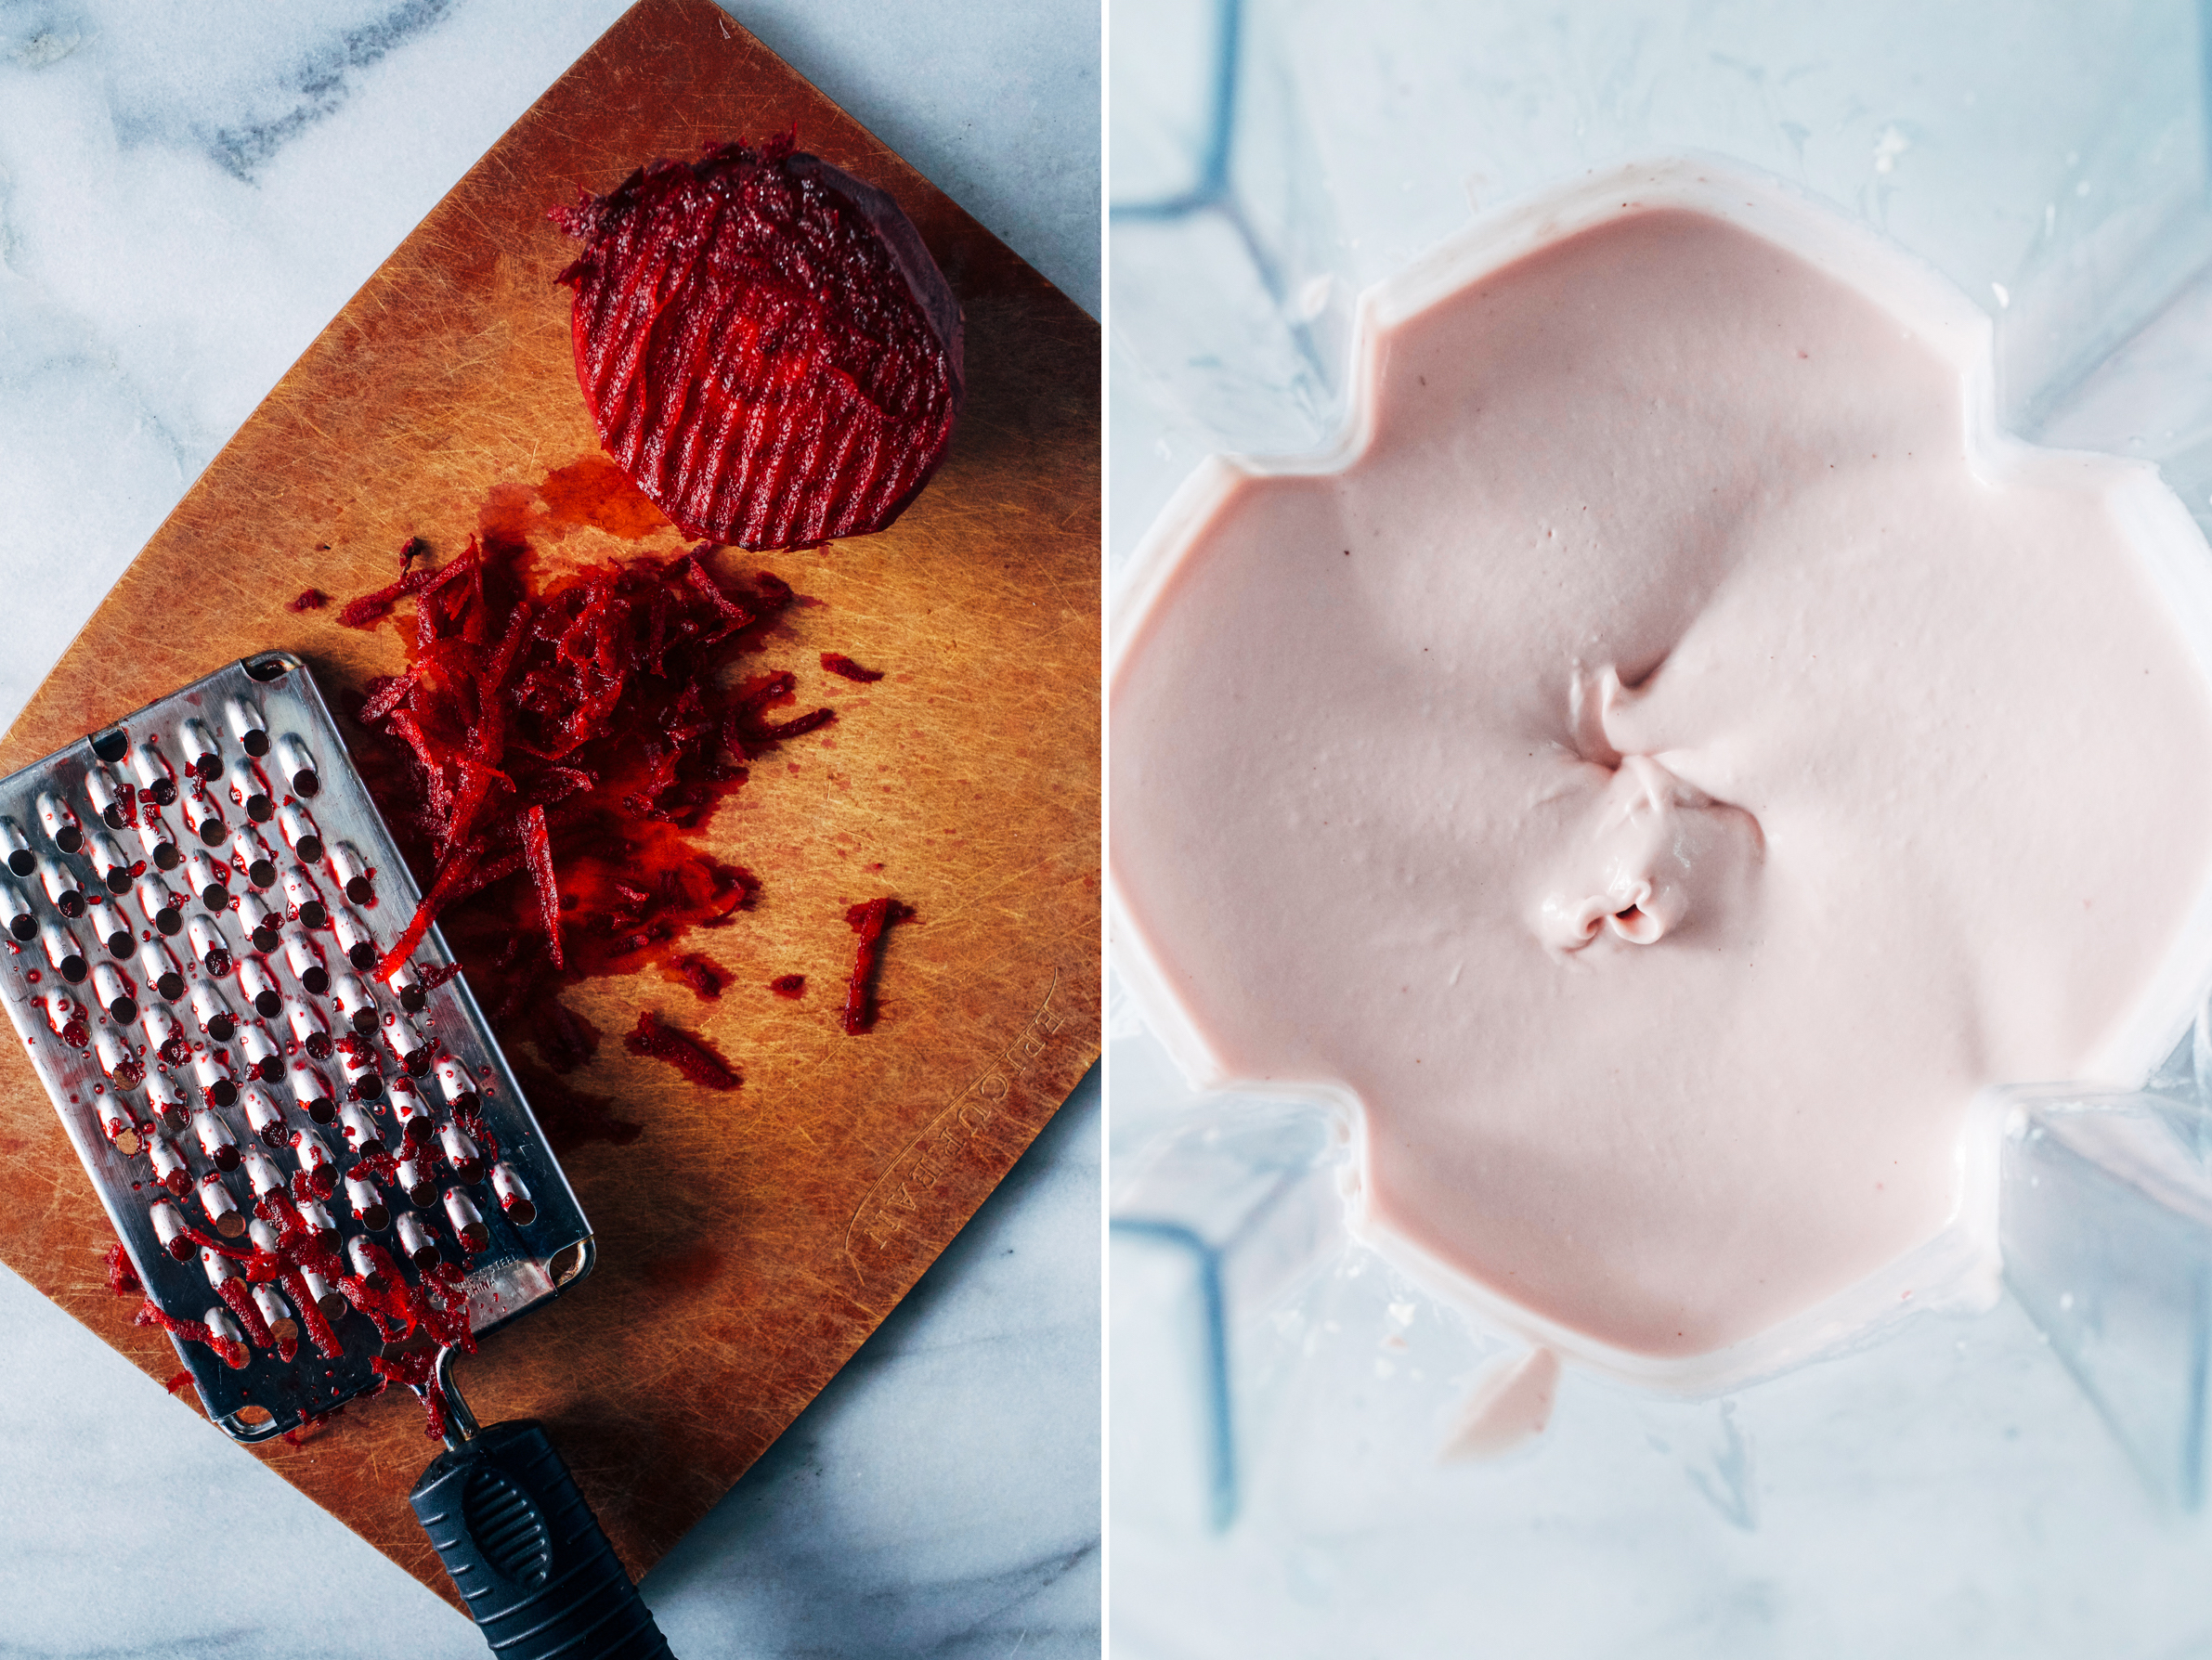
In order to get a silky texture, the cashew cream does require a high speed blender but if you don’t have one you can make a vegan buttercream frosting (with a few teaspoons of beet juice for coloring) instead.
I went the cashew route for a healthier option but I mean, it’s dessert. As long as you don’t eat them every day then, what the hell, why not? ;)
Vegan Chocolate Whoopie Pies with Pink Vanilla Cashew Cream
Ingredients
For the Whoopie Pies
- 1/2 cup almond milk
- 1 teaspoon apple cider vinegar
- 2 tablespoons ground flax + 3 tablespoons water
- 3/4 cup oat flour*
- 1/2 cup cocoa powder
- 1 teaspoon baking powder
- 1/2 teaspoon baking soda
- 1/2 teaspoon salt
- 3/4 cup almond flour
- 1/2 cup coconut sugar
- 2 tablespoons pure maple syrup
- 1/4 cup unsweetened apple sauce
- 2 teaspoons vanilla extract
- 1/4 cup melted unrefined coconut oil
For the Pink Vanilla Cashew Cream Filling
- 1 and 1/2 cups raw cashews, soaked in hot water for 30 minutes
- 1/3 cup almond milk
- 2 tablespoons pure maple syrup
- 2 teaspoons apple cider vinegar
- 1 tablespoon vanilla extract
- pinch of salt
- 2 tablespoons raw shredded beet, or 1T beet juice**
Instructions
- Preheat the oven to 350°F then line two baking sheets with parchment paper.
- In a measuring cup, combine 1/2 cup almond milk and 1 teaspoon apple cider vinegar. Set aside.
- In a small bowl, combine ground flax with water. Whisk until smooth then set aside to thicken.
- Using a fine mesh sieve, sift together the oat flour, baking powder, salt and cocoa powder into a large bowl. Sift the almond flour last, discarding of any large lumps that remain in the sieve. You should have about 2 tablespoons left over. This process helps give the whoopie pies a smoother texture.
- To the bowl of a stand mixer with the mixing attachment (or a bowl using a hand mixer), combine almond milk mixture, flax mixture, pure maple syrup, apple sauce, vanilla extract and coconut sugar. Mix on high for 10 seconds, until smooth.
- With the mixer running, incorporate the dry ingredients a little at at time. Add the melted coconut oil last then allow to mix for about 15-20 seconds, until no large lumps remain. Use a spatula to scrape the sides and bottom of the bowl, making sure all of the ingredients have been incorporated.
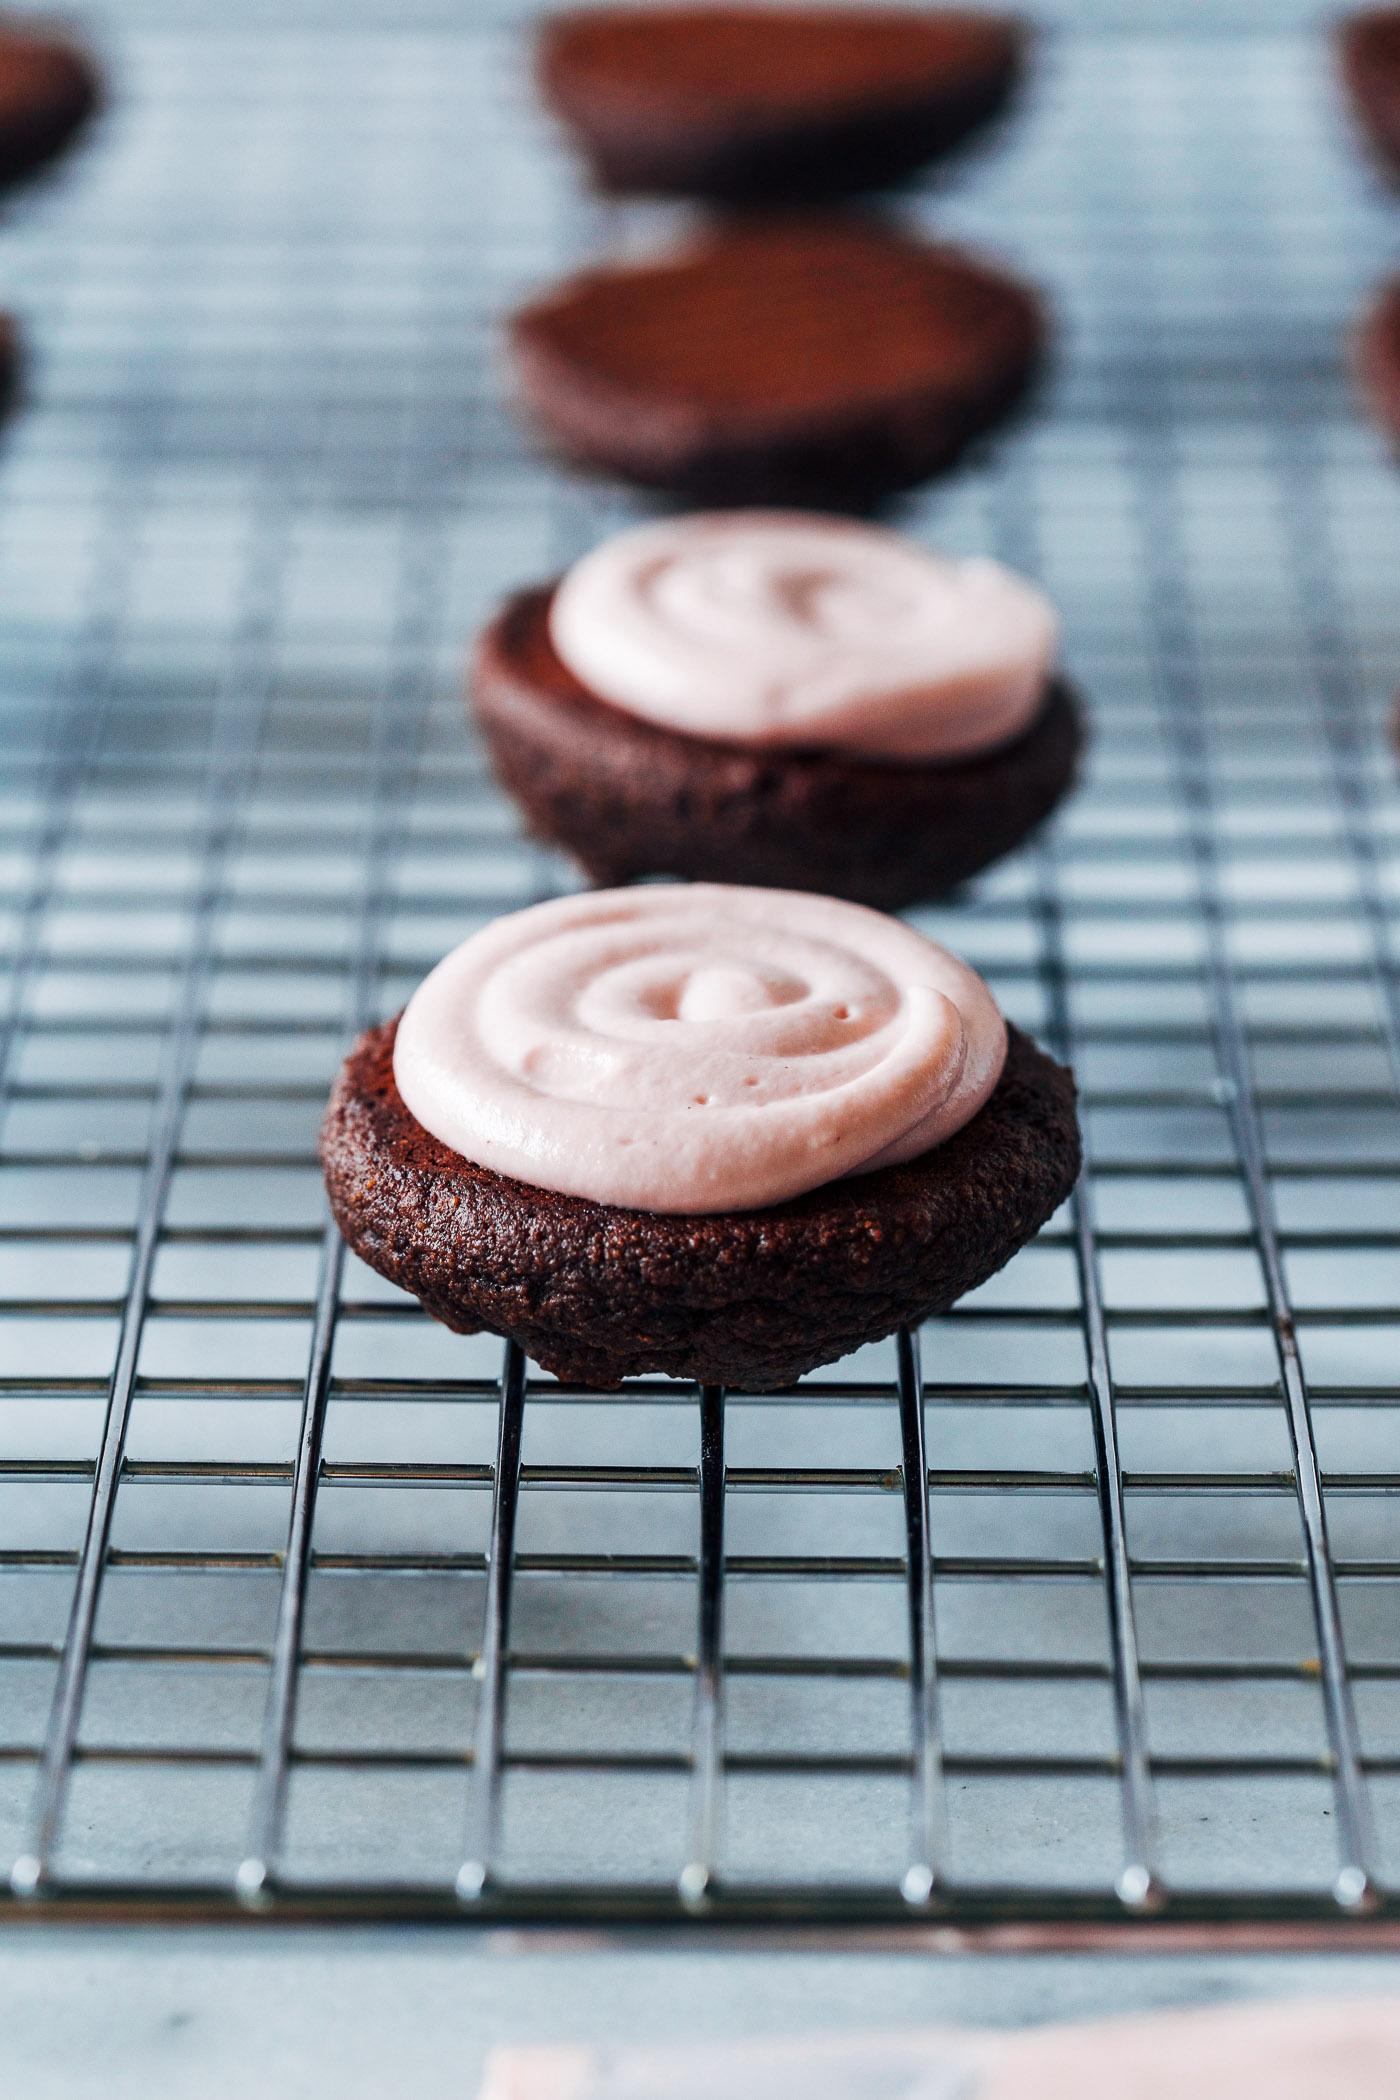
- Using a scooper, scoop out 1.5 tablespoons of the batter at a time and place on the lined baking sheet about 2-inches apart. Bake in the oven for 10-12 minutes. Set aside to cool for at least an hour before icing. They will firm up as they cool.
- Meanwhile make the cashew cream by combining the soaked and drained cashews with the remaining ingredients in a high speed blender. Blend until smooth, adding more maple syrup to sweeten, as needed.
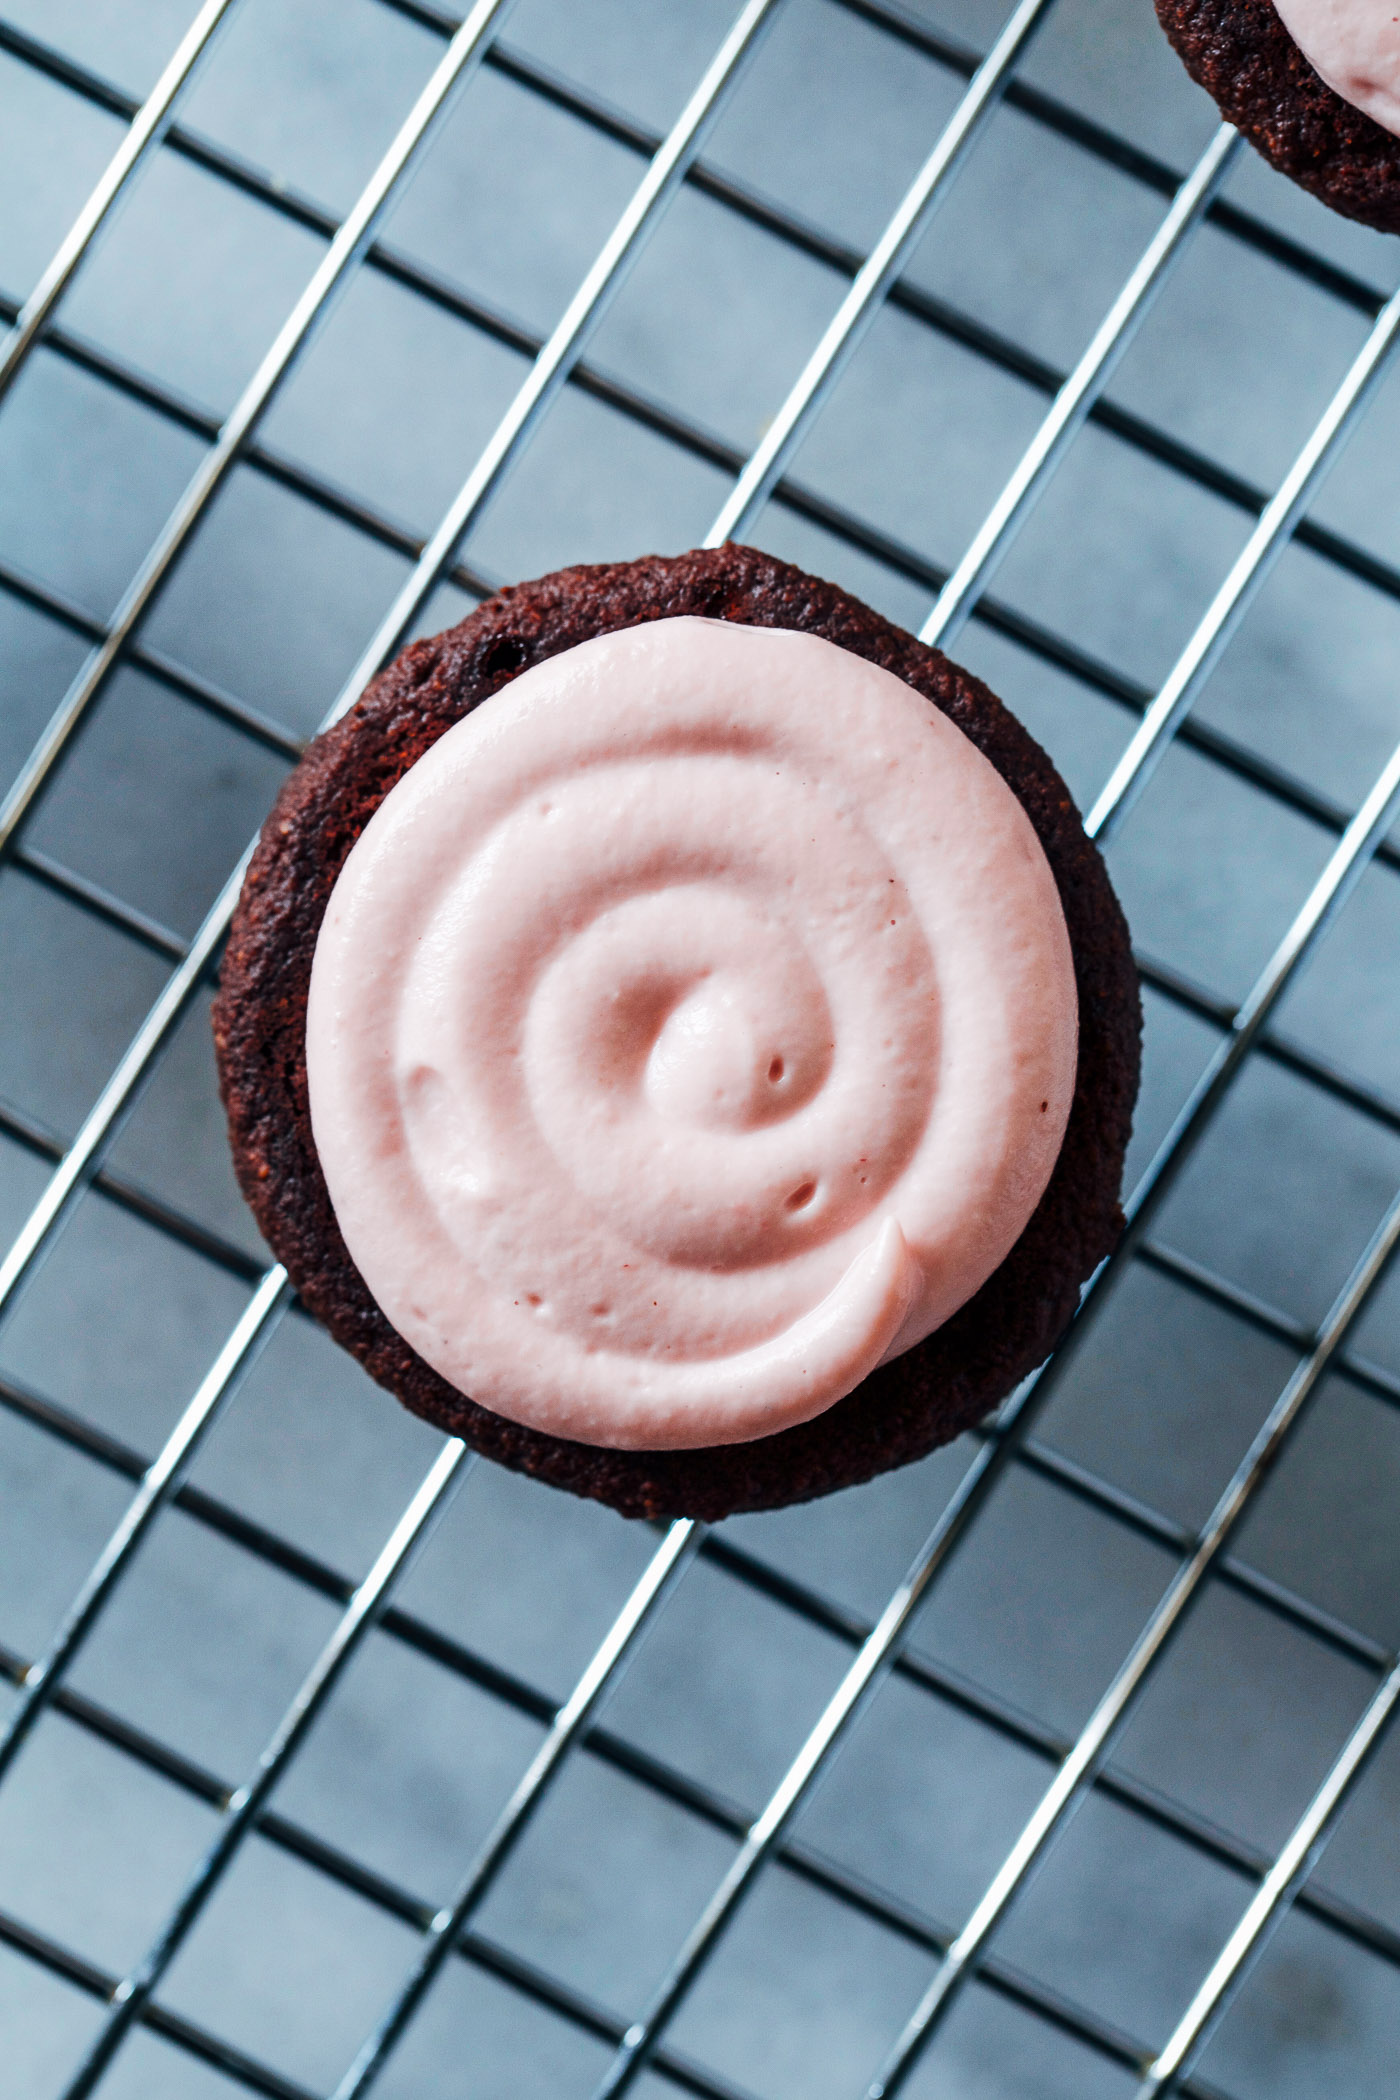
- Transfer the cream into a pastry bag or a plastic bag with one end cut off. Carefully pipe the cream into the center of half of the cookies then top with the other half. Serve and enjoy!
Notes
Did you try this recipe? Please let me know how it turned out by leaving a comment below or sharing a picture on Instagram with the hashtag #makingthymeforhealth. I love hearing your feedback! ![]()
These are such a perfect Valentine’s treat! I love whoopie pies! I’ve been dieing to make some!
Thanks Rebecca! <3
I’m getting so excited for Valentine’s day now! It’s one of my favorite holidays. Now I just need to get my act together and make something sweet. These are so pretty and I love how the beets just naturally dyed the cream!
I’m sure Riley will come up with something sweet for you! <3
I hate when you try a recipe so many times that when you actually post it you’re kinda sick of looking at it! I’m sure it won’t last long however, because these look so fluffy and that frosting! It’s so pink and pretty. Congrats on finessing this recipe, because these look absolutely delicious!
Haha, yes! I’m so glad that you can relate to that feeling when a recipe gives you a run for the money. I almost gave up on them but Brandon encouraged me to keep going. I probably should’ve mentioned that in the post. They are truly a labor of love. :)
Thanks for all your trials with this recipe and the final product looks really delicious. The photos are stunning as usual; I just want to reach through the screen and grab one! On the filling front, good for you for taking the time to get the pink coloring from beets… I’m too lazy and will open up a bottle of pomegranate juice, pour out just a little, color the filling and call it a day! :)
Thank you for the kind words, Jerilyn! I definitely need them after all of the grey hairs these whoopie pies caused me, lol.
I love the tip to use pomegranate juice! So much easier than grating a beet. Thanks for sharing! :)
I’m diggin’ the natural pink color! So I’m not sure that I’ve EVER had a whoopie pie… but I am confident that I would love them!
These are absolutely gorgeous, Sarah and first, let me thank you for being so unrelenting with developing this recipe!! I know how deflating it can be when time after time it just doesn’t work. I shelved mine last year (vegan whoopie pies) and haven’t revisited them – but I’ve also learned much about vegan baking over the past year too! Beets and chocolate win for Valentines day! Indeed, you’ve climbed the mountain! These are perfection!! :D
Well I’m glad you stuck with it because these whoopie pies are gorgeous!! And they sound delicious too! I am loving that beet-pink cashew cream filling!
Holy mackerel, this recipe is amazing! I can tell how it would be a labor of love just to get all of the elements right. I say a huge kudos to you for keep on keeping on and getting the perfect whoopie pie. Definitely dying to try these! Feeling the whoopie love in the air for sure!
Looks like you finally nailed it with these. They look super delicious!
Thanks Kelli! The perfectionist in me wanted to keep going but I had to leave good enough alone. ;)
Hope all is well with you and the boys! <3
These are beautiful!! I have to admit that I have such a hard time with trying to bake healthier treats that I usually just opt for the unhealthy ingredients lol. These sound easy to make with accessible ingredients though, so I’m loving them! I hope you guys have a happy V Day!!
Hi Sarah,
I came across your recipe today and I’m in the middle of making them! I was just wondering about storage….I’m making for my husband to take to work. Should I assemble the cashew filling in the morning (pre-made but refrigerated), or is it possible to assemble, refrigerate overnight and then take them to work?
The batter tastes amazing so far….very excited, thanks in advance! Tarsh
Hi Tarsh! I would definitely wait to assemble them until the morning. They have more of a cake texture than cookie texture so they will absorb the cream if left overnight. I know it’s kind of a pain, sorry! I hope they turn out well for you!
Pingback: 25 Surprisingly Sweet Sugar-Free Dessert Recipes to Treat Yourself
Is it possible to substitute a different nut for cashews? Or do you recommend another vegan filling recipe that would be good?
I believe macadamia nuts or blanched almonds would work similarly. Or you could skip the nuts and look for a vegan cream filling/frosting that uses powdered sugar.
Cant wait to make these ! Im a western PA girl living in California and missing my “gobs” from back home.. I have been looking for a Clean recipe for all my clients back in PA.. this may do the trick ! Thank you for sharing your recipe !
Pingback: 22 Vegan Dessert Ideas For Valentine's Day – Cupbord
These were made for me by a friend and were amazing! Any tips on making a pumpkin version for the holidays?
I’m so glad you like them! I’m afraid it would take several trials for me to figure out how to make a pumpkin version but it’s something I’ll add to my list to try in the future. :)
Pingback: Vegan Heart Whoopie Pie Cookies Recipe for Valentine's Day
Hi Sarah,
what a cute cookie. Job well done!!! Did you end up using the 1/2 tsp of baking soda or not? You listed it in the ingredients but didn’t where you used it (I figure w/the dry ingredients).
Thxx for clarifying.
Yes I did, sorry about that! It does go with the dry ingredients.