5-Minute Overnight Steel Cut Oatmeal
5-Minute Overnight Steel Cut Oatmeal- the easiest method for preparing steel cut oatmeal. Just five minutes of prep and you’ll wake up to cooked oats that are ready to heat and serve!

There’s something about cold weather that instantly makes me crave a warm bowl of oatmeal. The only draw back is the time and attention it takes to actually cook it. Especially steel cut oats which happen to be the best, in my personal opinion. The slightly chewy texture is so much better than the standard rolled oats.
When I first discovered this overnight method for cooking steel cut oats I must have done at least 7 cartwheels. It literally takes 5-minutes to prep them and when you wake up all you have to do is heat them and enjoy!
What’s the difference between Steel Cut Oats and Rolled Oats?
Both steel cut oats and rolled oats (or old fashioned oats) pack in a ton of nutritional benefits:
- Rich in a soluble fiber called beta glucan which has been linked to lower LDL cholesterol
- Good source of anti-inflammatory antioxidants known as avenanthramides
- Promotes healthy gut bacteria
- Contain important vitamins and minerals such as zinc, magnesium, selenium and iron
However, steel cut oats offer a slight nutritional advantage in that they are higher in fiber and may have a lower glycemic index compared to rolled or quick oats. They are less processed in that they haven’t gone through a steaming and flattening process which gives them a a coarser texture.
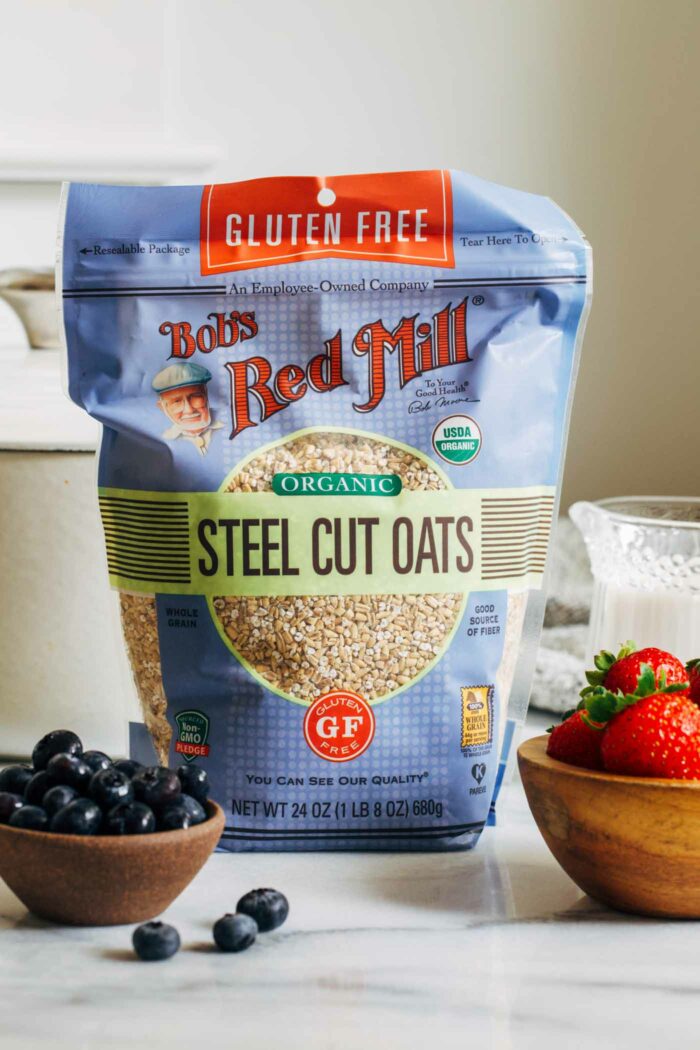
Both kinds of oats are naturally gluten-free but are often processed in facilities with traces of gluten on they machinery. Bob’s Red Mill Organic Steel Cut Oats are certified gluten-free which means they are processed in a dedicated gluten-free facility and tested for GF integrity.
How to Prep Overnight Steel Cut Oats
The only disadvantage of steel cut oats is that they take longer to cook. Luckily I discovered this super easy method on Jackie’s blog (back in 2013!) and I’ve been making them this way ever since.
Let’s look at the steps so you can see for yourself how easy it is:
STEP #1 Start by bringing 3 cups filtered water to a boil in a large pot then add 1 cup of steel cut oats and a pinch of salt.
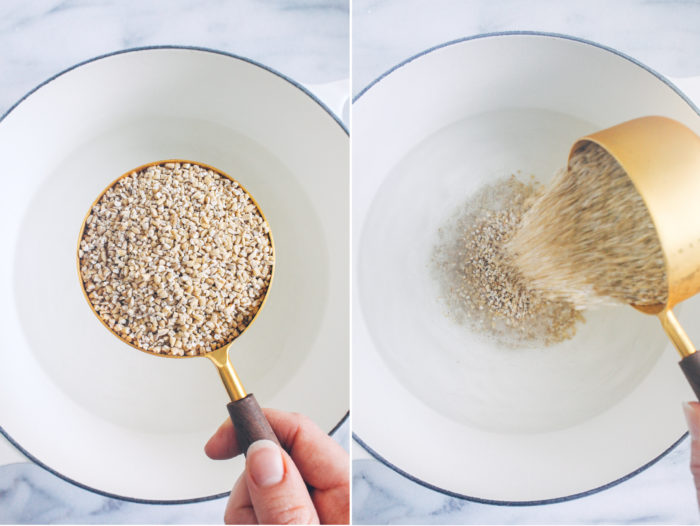
STEP #2 Allow the oats to boil for one minute, then turn the burner off and cover the pot with a lid. Now it’s bed time! Nighty-night! ;)
STEP #3 When you wake up the next morning, stumble your way into the kitchen and the turn the burner back on to the high heat setting then pour in 1/2 cup to 1 cup (depending on thick you like your oats) of milk and stir together. I like to use unsweetened vanilla hemp milk for a boost of omega-3s.
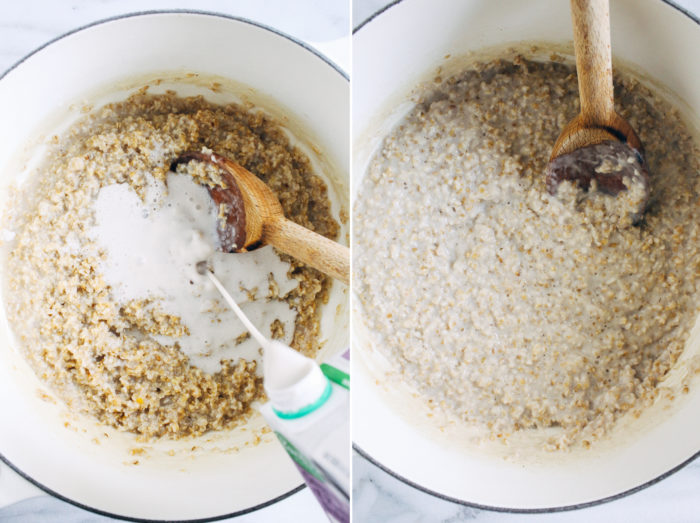
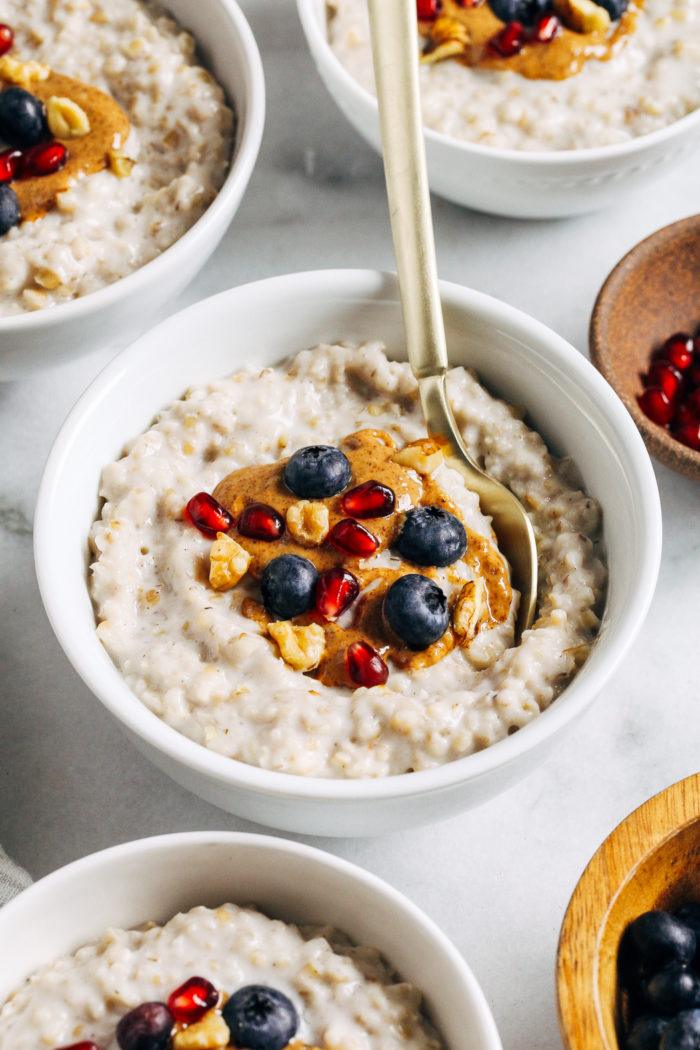
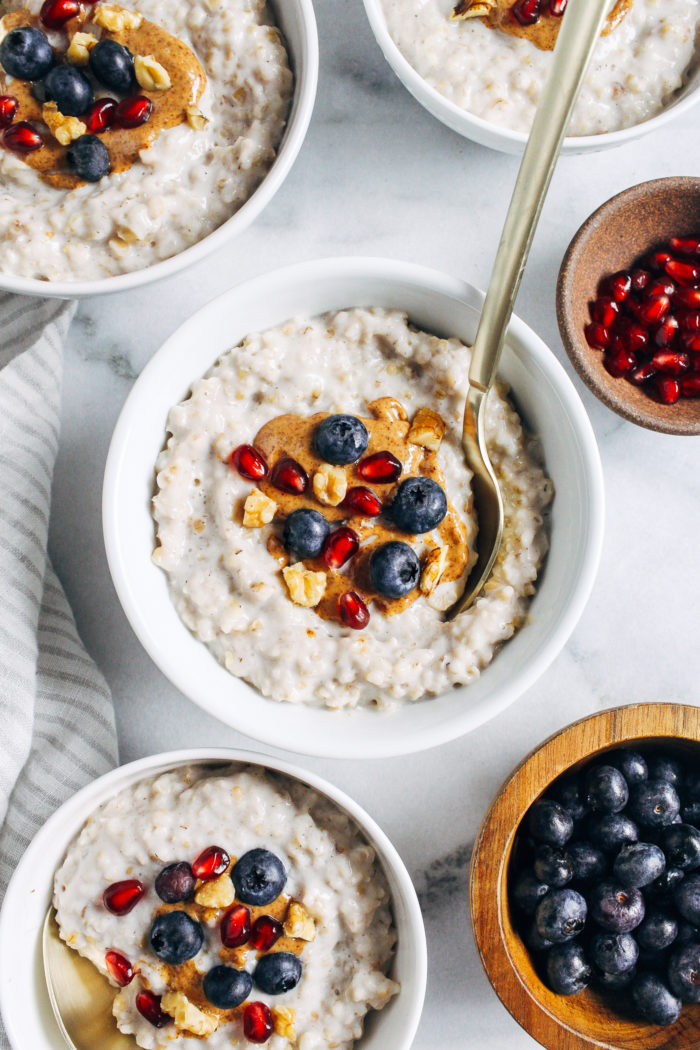
As the oats begin to boil, continue to stir intermittently and cook, until about 4-5 minutes have passed. Then that’s it! They’re ready to be served warm with your favorite toppings.
How to Store Leftovers
Since this makes a few servings, I usually have leftovers that I store in an airtight container in the refrigerator for up to 5 days. Then I just microwave them for about 2 minutes with a splash of milk to rehydrate.
This method has made eating oatmeal so much easier for me and I hope you find it does the same for you. Stay warm and enjoy, friends!

5-Minute Overnight Steel Cut Oatmeal
Ingredients
- 3 cups filtered water
- 1 cup steel cut oats, such as Bob's Red Mill
- pinch of salt
- ½-1 cup milk of choice, can also use water, if desired
Instructions
- In a large pot, bring 3 cups of water to a boil. Add 1 cup of steel cut oats and a pinch of salt. Allow to boil for about one minute then turn off the heat and cover the pot with a lid. Bed time!
- The next morning, remove the lid and turn the heat to medium-high. Pour in the milk using 1/2 cup for thicker oats or 1 cup for a thinner consistency. Cook while continuing to stir for 3 to 4 minutes, until soft but still chewy. Transfer to a bowl fo serving, finish with desired toppings and enjoy!
- Store leftovers in an airtight container and refrigerate for up to 5 days. Microwave on high for 2 minutes when ready to serve.
Nutrition
 This post was created in partnership with a brand that I have used and loved for years, Bob’s Red Mill. As always, all opinions and text are entirely my own. Thank you for supporting the brands that help make it possible for me to bring you quality content. For more delicious recipes and a coupon for $1.00 off any product, please visit Bob’sRedMill.com.


Yes!! This is exactly how I cook my steel cut oats and I LOVE how they turn out in the morning! I normally heat them up at work with milk instead of on the stove, but they turn out just as delicious. I will be trying that topping combination soon!
Love steel cut oats!
I need to get on the oats train for breakfast… I like oats but I’ve been riding the egg train for awhile. These look awesome and I love the step-by-step pics!
I absolutely love steel-cut oats (I think they may be my favorite kind!) but I never seem to have time to make them lately. This method is genius!! This is so happening as soon as I get back home from traveling.
That looks awesome! I used to like making steel cut oats, I’ll have to try this method sometime :)
I want steel cut oats now! I mean… these pictures are really gorgeous (I’m drooling) plus now I know how to cook the oats properly. Beautiful recipe!
Don’t worry, there is plenty of time left to work out, haha! It’s good that you are resting and letting your body heal itself. I hope you feel better soon!
Pingback: . link love 1/11 . - . running with spoons .
Pingback: Overnight Slow Cooker Steel Cut Oats in a Jar – Making Thyme for Health
Pingback: 10 Cozy Vegan Oatmeal Recipes for Breakfast | Emilie Eats
Pingback: Sugar-free Blueberry Lemon Compote - Making Thyme for Health
Pingback: 10 Vegan Cereals That Make Up For A Filling & Nutritious Breakfast!
Pingback: 10 Cozy Vegan Oatmeal Recipes for Breakfast – Emilie Eats
I’m still experimenting with oats and am yet to try the steel cut variety. Just added them to my shopping list, thanks!
These were easy to make and I love the texture!
I have quick steel cut oats most mornings. 1/3 cup of oats, 1 cup of water, six minutes in the microwave at 50% power, stir half way through and they are done. I use water vs milk as I cannot digest dairy so I do not know how this recipe will work not using water.
I always use plant milk but you can use all water if you like. It will be less creamy though.